As an Amazon Associate, I earn from qualifying purchases
Here you are, arriving at this blog post amidst the trials of motherhood. First and foremost, pause. Well, perhaps not pause for a deep breath just yet. I understand the odors assaulting your senses may transport you back to the queasiness of your first trimester with your precious little bundle of vomit. Instead, why not reach for that peppermint tucked away in the depths of your purse and inhale its soothing scent?
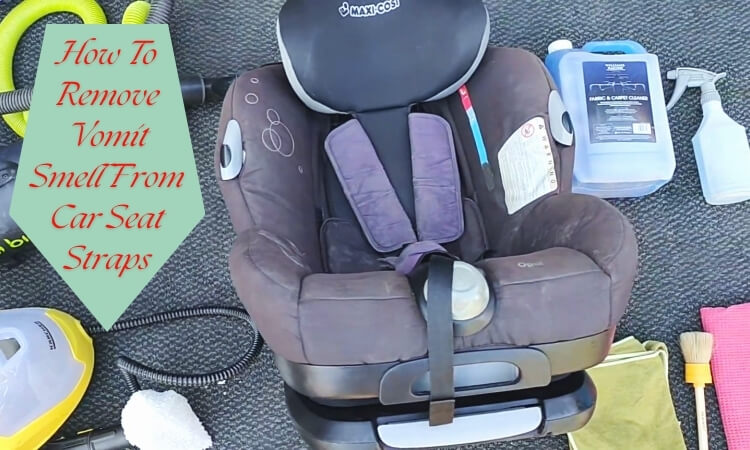
After dedicating weeks to scrutinizing car seat manufacturer instructions, seeking advice from car seat technicians, and tapping into the wisdom of seasoned mothers, I proudly present The Definitive Guide to Dealing with Vomit in a Car Seat.
Before we delve into the specifics, a crucial disclaimer:
Your child’s car seat serves one paramount purpose—protecting your child in the event of an accident. This is not the juncture to skimp or take shortcuts. Beware of relying solely on advice gleaned from social media posts brimming with well-meaning yet unverified suggestions. While you needn’t rush to purchase a new car seat with every regurgitation incident, it’s imperative to uphold the car seat’s structural integrity during the cleaning process.
Remove the Cover (if possible)
Adhere strictly to the manufacturer’s guidelines when washing the cover. It’s crucial not to deviate from these instructions. The cover is intricately designed to complement the hard shell in safeguarding your child during an accident. Any deviation from the recommended washing procedure can compromise its effectiveness.
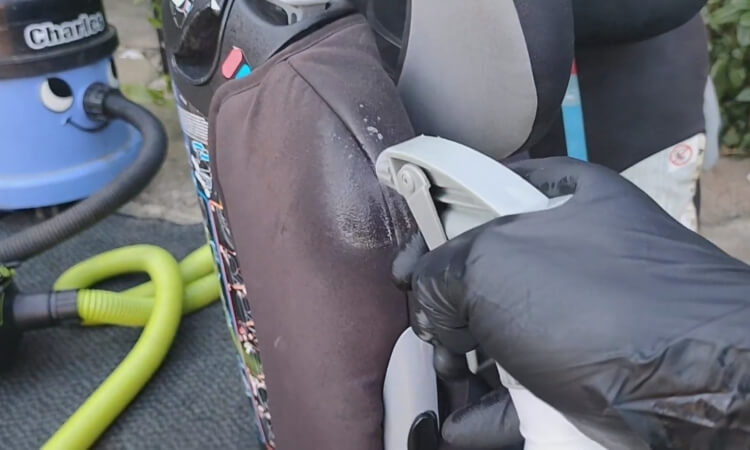
Wipe down the shell
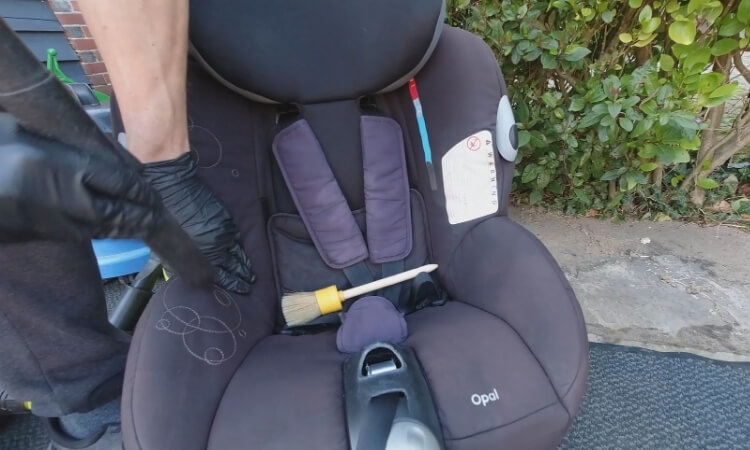
Opt for baby wipes or a mixture of water and mild soap when cleaning the hard shell. Utilize Q-tips or a toothbrush to reach into the small crevices effectively. Avoid the temptation to use a power wash on the shell. While it might seem like a thorough cleaning method, baby wipes, and water can achieve the same level of cleanliness.
The straps
You’ve likely already tackled the cover and shell, but the straps are the real challenge, aren’t they? They bear the brunt of the mess and carry the worst smell. Your initial instinct might be to remove them and toss them into the washing machine. However, please refrain from doing so. The straps are crafted from highly sophisticated webbing, engineered to stretch ever so slightly without breaking during an accident. This stretching minimizes the force transferred to your child. Submerging the straps in water, especially in a washing machine, can prematurely stretch them, compromising their performance in an accident.
So, what’s the alternative? Opt for gentle soap and water. Dawn dishwashing detergent or baby bath soap are your best bets. Apply a small amount of soap to a washcloth dampened with cool water and gently wipe the straps. Allow them to air dry and repeat the process if necessary. Be cautious not to saturate the straps excessively.
Beware of Harmful Cleaners for Car Seat Straps
You might feel inclined to resort to household cleaners like bleach, vinegar, or pet cleaners, thinking they are more effective. However, the chemical composition of these cleaners, while suitable for many surfaces, can actually weaken the webbing of car seat straps. Similarly, avoid using baking soda, essential oils, lemon, Febreze, and OxiClean, as they can also compromise the integrity of the straps. Always bear in mind that the sole purpose of your car seat is to safeguard your child’s life. Avoid anything that could compromise its effectiveness.
In the event of a Vomitpocalypse, some companies may offer to replace harness straps either free of charge or for a minimal fee.
Additionally, don’t forget to address the buckle, which is likely to be soiled as well. Submerge it upside down in a glass of water, being careful not to immerse the strap. Swish it around a few times before removing it to dry.
The sun is your friend
After diligently following all the cleaning steps mentioned above, the most frustrating aspect is often the persistent odor of vomit that seems to linger despite your efforts. Fortunately, there’s a simple solution: harness the power of the sun. Natural sunlight acts as a powerful bleach, effectively erasing any lingering traces of the unfortunate incident. Simply place the cleaned car seat components in a sunny spot outdoors and let the sun’s rays work their magic to eliminate any remaining odors.
“The Vomit Kit”: Streamlining Car Cleanup
While it’s impossible to guarantee that your child won’t experience another bout of car seat-induced nausea, you can certainly streamline the cleanup process for any future incidents. Allow me to introduce you to what I like to call “The Vomit Kit.” This handy kit, akin to your Emergency Preparedness Kit, is designed to be stored conveniently in your car, ready for action whenever the need arises.
Rest assured, you’ll find “The Vomit Kit” far more useful than that emergency flare you’ve stashed away. Here’s what you’ll want to include:
1. Paper towels
2. Baby wipes
3. Hand towel
4. Garbage bag
5. Gallon-sized Ziplock bag
6. Change of clothes
7. Large cup (preferably with easy handling for your child)
8. Bib, ideally with a “catcher” at the bottom, especially for younger babies
9. Air freshener
Conclusion
Take your time, and pat yourself on the back—navigating parenting’s less glamorous moments earns you your stripes. With preparedness and the right technique, your child’s car seat can return to its pre-incident state, ready to safely accompany you on your next family adventure.
As an Amazon Associate, I earn from qualifying purchases
Leave a Reply